
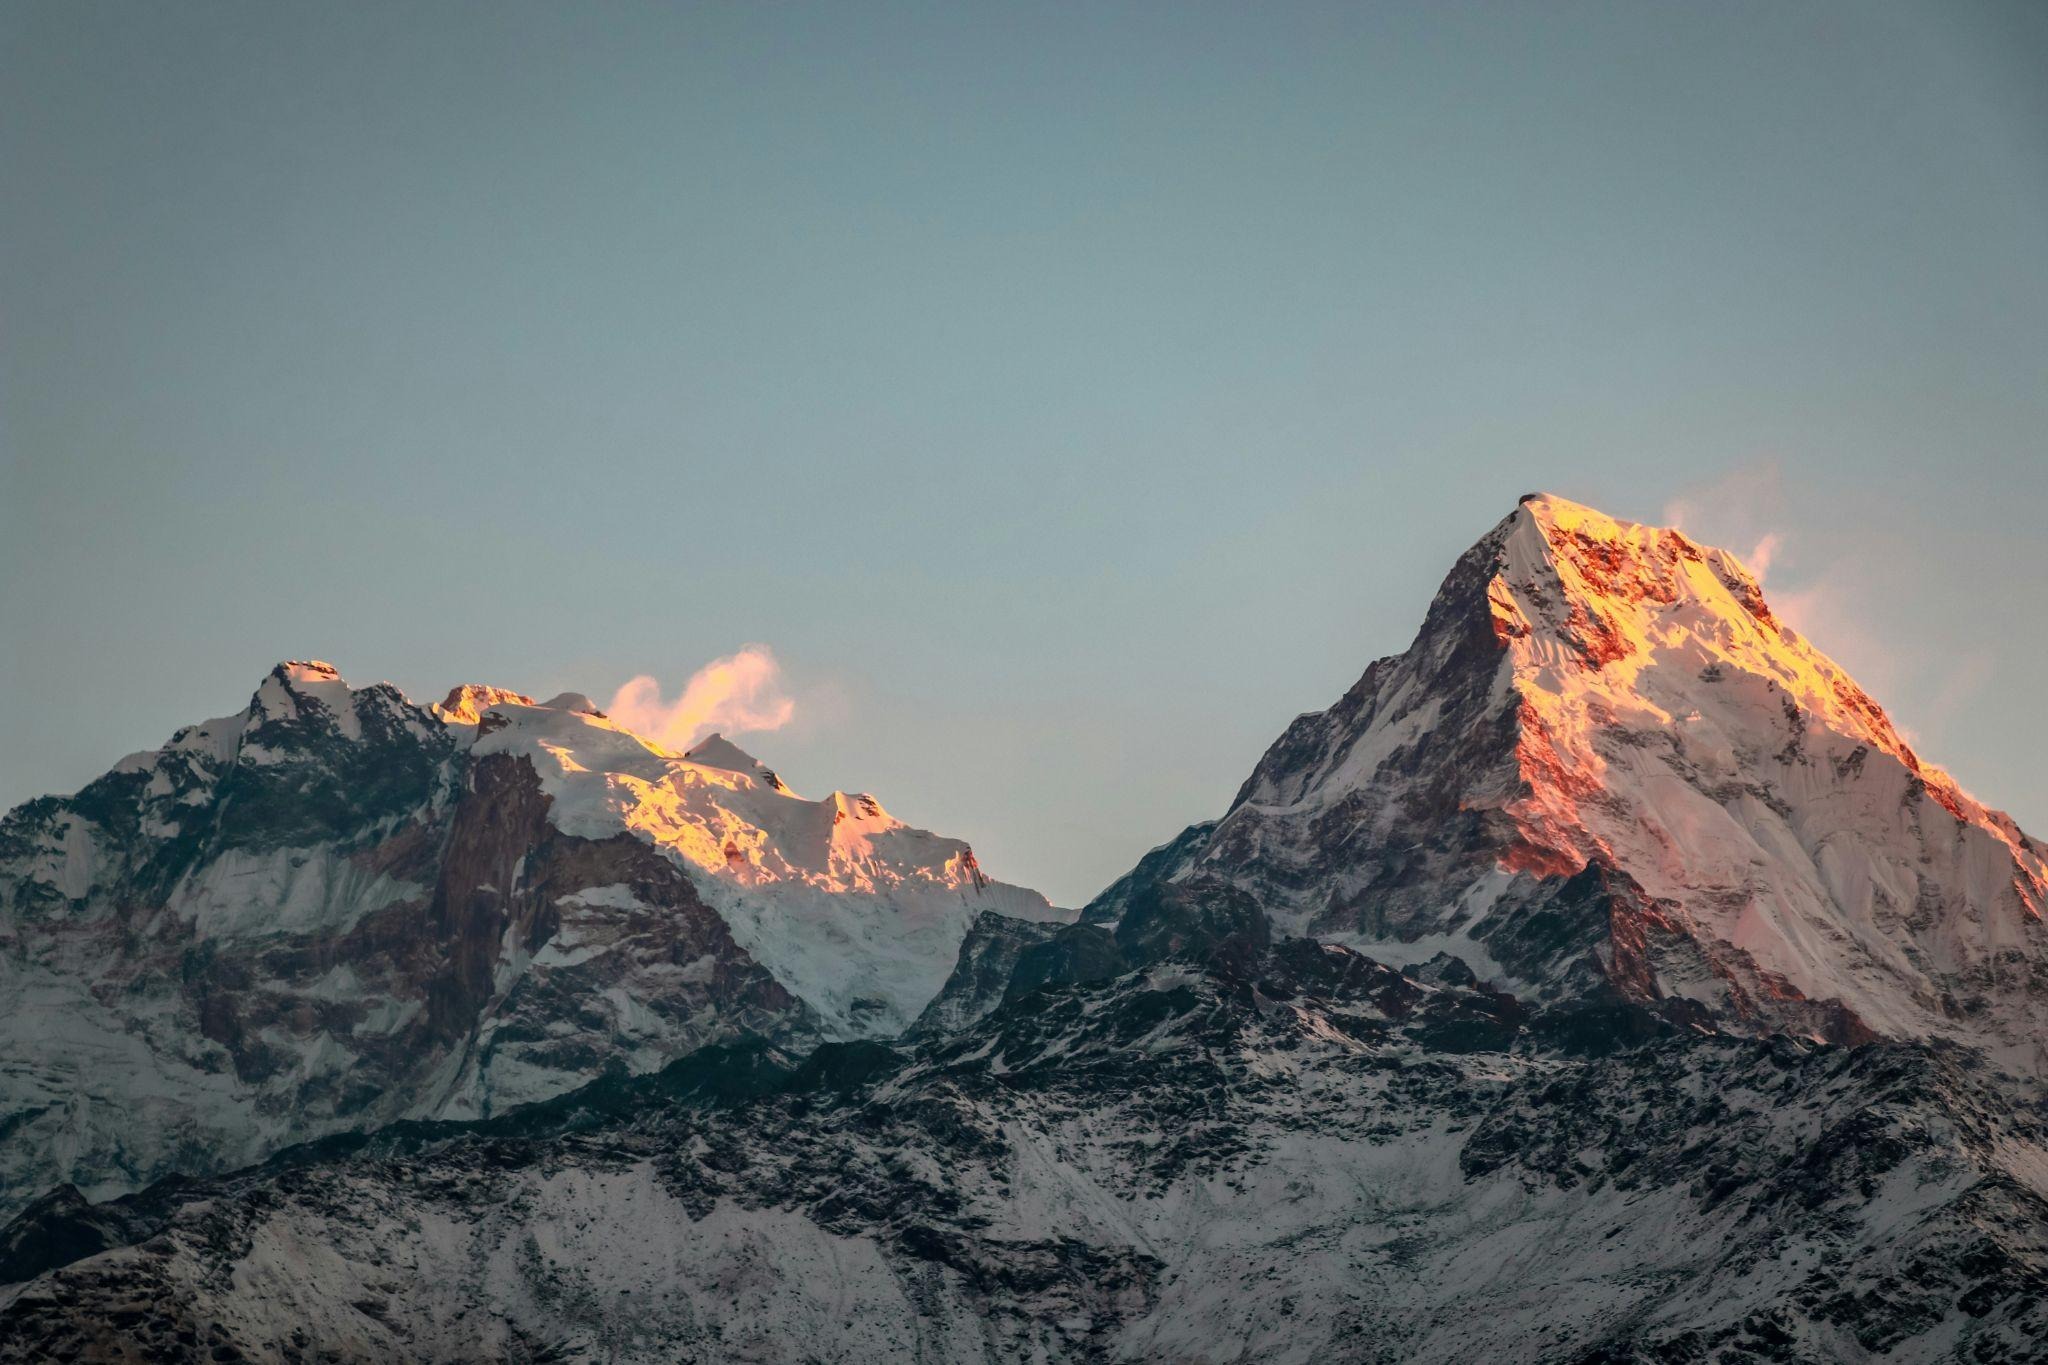
Most of the advice I’ve been able to find online about photographing Annapurna in Nepal tells me about the best camera gear I should buy. Which body, which lens, how many batteries. Useful, but it skips the part that actually decides whether you come home with any incredible photos: where you are standing, and at what hour. These things are, to me, the most important things to know about photographing the Annapurna Range.
The Annapurna range is unusual in that it offers two genuinely different photographic propositions within a few days’ walk of the same town. They are not interchangeable, and choosing the wrong one for the images you want is the most common mistake I see.
What I’ll tell you about in this article is where people end up standing for the best photos of each viewpoint, and what they wish they had known first.
Viewpoint one: the Mardi Himal ridge, for Machapuchare
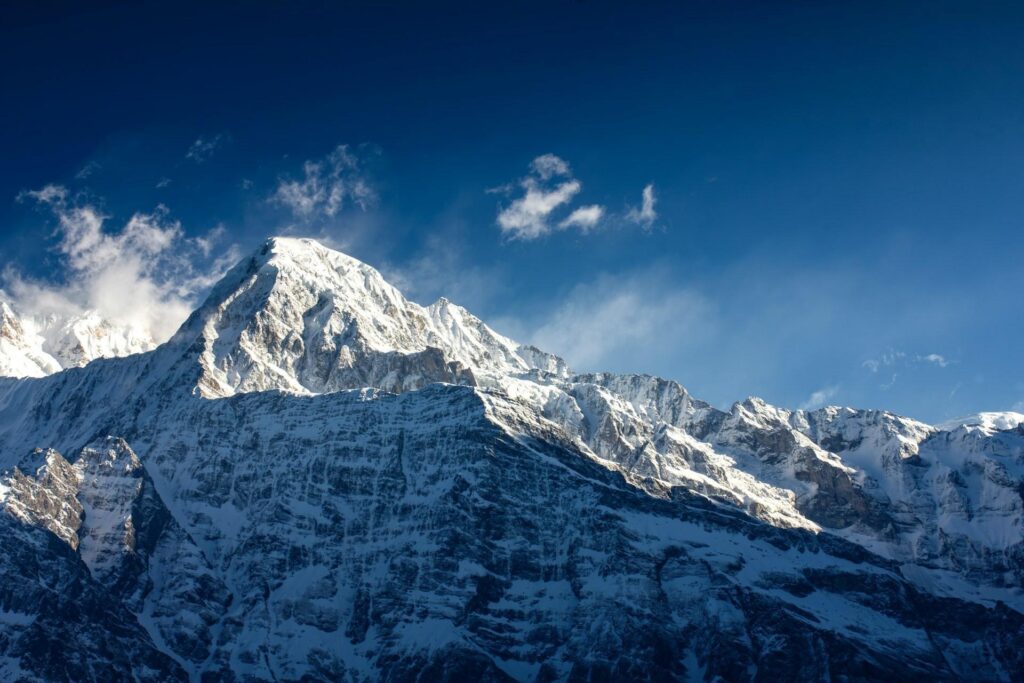
If you want one mountain, filling the frame, close enough to see the light move across it, this is the walk.
The Mardi ridge runs directly beneath Machapuchare, the fishtail peak that dominates every postcard from Pokhara. From High Camp, you are not looking at it across a valley. You are looking up at it, and it is close enough that a standard zoom is often too much lens rather than too little.
Two things make it work photographically. The ridge faces roughly east to south-east, so the peak catches first light while you are still in shadow, which is the separation photographers want and rarely get. And the approach climbs through rhododendron forest that is genuinely worth shooting in its own right, particularly in the mist that forms most afternoons.
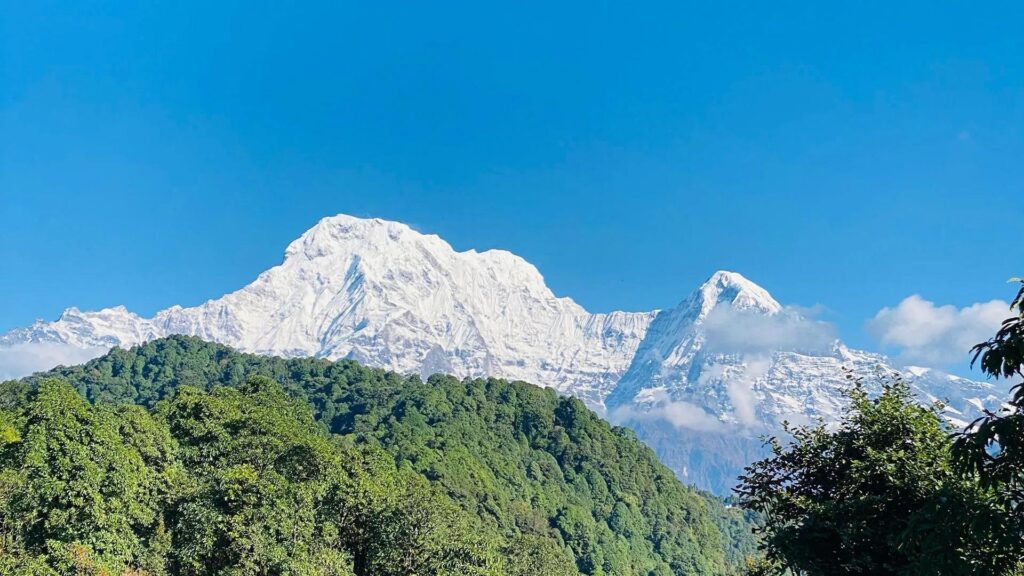
It is also short. The short Mardi Himal route from Pokhara runs about five days door to door, which makes it one of the few Himalayan viewpoints reachable inside a week without rushing the altitude.
Viewpoint two: the Annapurna Sanctuary, for the amphitheatre
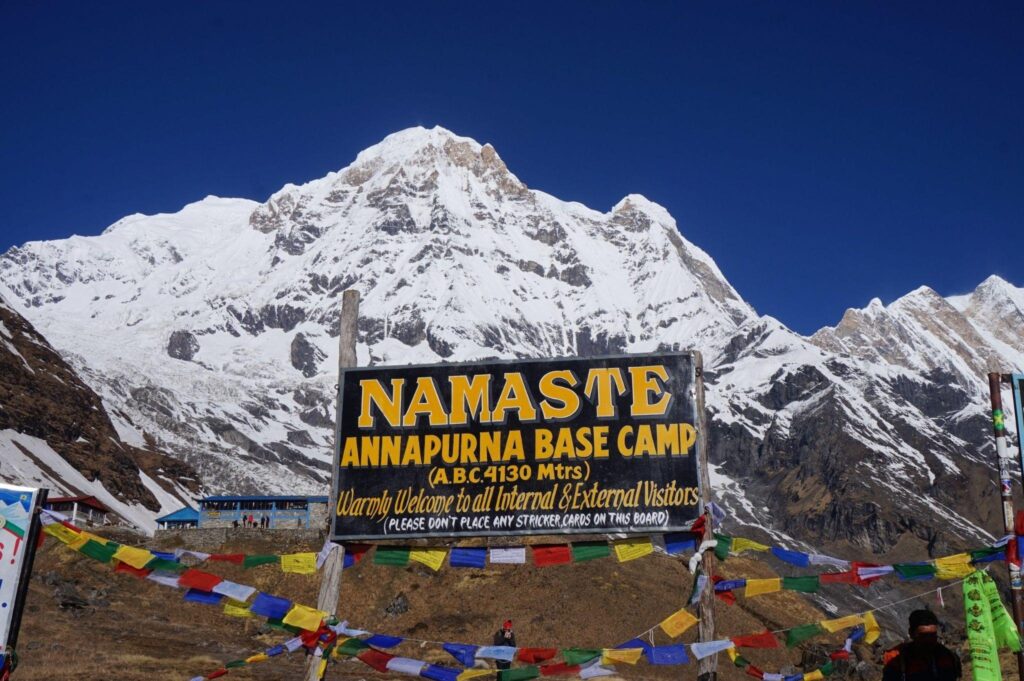
The Sanctuary is a different picture entirely, and people who go expecting a bigger Mardi are usually disappointed for about an hour, and then not.
Annapurna Base Camp sits at roughly 4,130 metres in a glacial basin ringed almost completely by peaks. You are not photographing a mountain. You are inside a wall of them, with Annapurna I at 8,091 metres on one side and Machapuchare closing the gate behind you.
That geometry creates the specific problem and the specific reward. The problem is that the sun arrives late and leaves early, because the walls are in the way, so your shooting windows are narrow and brutal. The reward is alpenglow that runs around the rim rather than across it, which is genuinely difficult to find anywhere else at this altitude with a bed at the end of the day.
The nine-day walk in to Annapurna Base Camp is the standard approach, and the extra days over Mardi are almost entirely acclimatisation rather than distance.
Choosing between them
The honest answer depends on what you shoot rather than how fit you are.
Go to Mardi if you want a single dominant subject, if you have under a week, or if you are travelling with a partner who is not doing this for the photographs. The days are shorter and there is more to look at between camps.
Go to the Sanctuary if you want scale and enclosure, if you are comfortable with narrow light windows, or if you have shot Mardi already and want something structurally different.
If you are genuinely torn, we set the two out side by side in a longer comparison of how Mardi Himal measures up against Annapurna Base Camp, including the altitude profiles, which matter more than most people planning a photography trip expect.
Five practical things nobody tells photographers about Annapurna:
- Batteries die faster than you plan for. Cold does it, and lithium cells lose capacity sharply once you are sleeping above 3,000 metres. Sleep with them. Not near them, with them.
- There is power, but it is not free and not fast. Most teahouses on both routes sell charging by the hour. It is slow, and everybody wants it at the same time. Bring more capacity rather than planning to top up.
- Tripods are worth it here and usually are not elsewhere. Both viewpoints do their best work in the twenty minutes before sunrise, which is exactly when handheld stops being an option.
- Altitude affects your judgement before it affects your legs. People make poor decisions about staying out in the cold and about descending. That is a photography problem as much as a safety one, because the picture always seems worth it at the time.
- The weather closes in the afternoon, most days, in most seasons. Plan to shoot early and walk in the cloud. Photographers who plan the reverse spend a lot of days looking at grey.
When to go:
October to early December gives the clearest air and the coldest nights, which is the trade every mountain photographer knows. March to April brings the rhododendrons, which matters more on Mardi than in the Sanctuary because of the forest section, but brings more haze.
Neither route requires you to be a mountaineer. Both require you to go up slowly, and the photographs are better when you do, because you are awake enough to take them.
Shopping list for photographers visiting the Annapurna Range:
- Camera Gear:
- DSLR or Mirrorless Camera with a sturdy, weather-sealed body. We like this Nikon D7500 Camera Body with 18-140 mm VR Digital DSLR.
- Wide-angle and telephoto lenses for versatile shooting options. This Nikon Wide Angle Zoom Lens is a great option
- A lightweight tripod like this one for stable shots, especially in low light.
- Extra batteries and a reliable charger, as cold weather can deplete battery life quickly.
- High-capacity memory cards to store thousands of high-resolution images.
- Accessories:
- Polarizing and ND filters to manage reflections and exposure.
- Lens cleaning kit to maintain clarity in dusty or wet conditions.
- Remote shutter release for long exposures.
- Protective camera bag with rain cover to safeguard your gear.
- Clothing and Personal Items:
- Layered clothing suitable for fluctuating mountain temperatures.
- Waterproof and windproof jacket and pants.
- Insulated gloves and a warm hat to keep you comfortable while shooting.
- Sturdy hiking boots for navigating rugged terrain.
- Sunglasses and sunscreen to protect against high-altitude UV exposure.
- Safety and Navigation Gear:
- Detailed maps or a GPS device to ensure you stay on course.
- First aid kit tailored for minor injuries and altitude-related issues.
- A reliable flashlight or headlamp with extra batteries.
- Miscellaneous Essentials:
- A travel-sized notebook and pen for jotting down shooting notes.
- Snacks and a reusable water bottle to stay energized and hydrated.
- A portable power bank for charging electronic devices on the go.
By packing these essentials, you’ll be well-prepared to capture the majestic beauty of the Annapurna Range, creating stunning visual stories that will inspire and awe.
Thanks for Reading!
Related travel guides:
The Poon Hill Trek in Nepal: My Guide
Which Gorilla Trekking Tour Should I Choose?
How To Plan a Trip to Bali For First Timers: Bali Travel Guide
Writer bio: Pawan Bhattarai is Co-Founder of Spade Himalaya, a trekking and tour company based in Kathmandu. Route and conditions detail is attributed to the company’s licensed Nepali guides.
From Pawan: “I should say plainly what I am. I co-founded a trekking and tour company in Kathmandu. I am not a guide and I hold no guide licence, so anything in this blog post about conditions underfoot comes from our licensed Nepali guides rather than from me.”
Last Updated on October 2, 2026 by snaphappytravel