

I used an eSIM during a three-week trip across the USA, starting in New York, then heading out for a Utah national parks road trip, and finishing with a few days in Los Angeles.
Because honestly, I did not want to land and deal with buying a SIM card. I also did not want to pay for roaming every day for three weeks, especially since I knew I didn’t need much. I mostly used maps, rideshare apps, bookings, and photo backups.
For this trip, I tested an Ohayu eSIM for the USA. So this is what happened when I tried this eSIM in cities, on road days, and around national parks where the signal is less predictable.
Why I used an eSIM for my US trip

The main reason was simple: I wanted mobile data ready before I landed. I bought the plan online before the flight and installed the eSIM profile on my phone. I left my home SIM in as it was, to keep my access to WhatsApp/iMessage accounts, and anything else that’s linked to my phone number.
A local SIM would probably have worked too, but I did not want to queue at the airport, show ID, compare plans after a long flight, or swap anything physical in my phone.
Here is how the options felt for this trip:
| Option | Setup | Keeps home number active | My take |
| eSIM | Before the flight | Yes | Best fit for this trip. |
| Local SIM card | Store or airport kiosk | Usually no | Fine, but not worth the extra stop for me. |
| Roaming | No setup | Yes | Easy, but expensive for a long trip. |
The eSIM was not perfect everywhere – even with full bars, busy areas, and the “middle-of-nowhere” places can have slower speeds. But it did help with boring parts of travel, like finding my way around new locations, texting, and hailing rides without thinking about data straight away.
How the setup went
Setup took around five minutes.
I installed the eSIM in advance, but I did not use it as my main data line until I arrived in the USA. Once I landed, I switched mobile data to the eSIM profile and kept my home number active for calls and texts.
The one setting I always check is roaming on the home SIM. I turn that off before flying, because I do not want my usual provider quietly charging me while the travel eSIM is also running.
On iPhone, I used:
Settings > Cellular > Cellular Data
On Android, the path is usually:
Settings > Network & Internet > SIMs
Setting titles change a little by phone model, but the idea is the same: keep the home SIM for calls if needed, and use the eSIM for mobile data.
Where the eSIM worked well
New York

New York was the easiest part of the trip for mobile data. I used my usual apps without thinking much about the connection. The only times it felt slower were in very busy areas, especially when everyone around me was also on their phone. And it’s basically the standard setting for Midtown Manhattan and Union Square. This is how I learned that full signal bars do not always mean fast internet – congestion happens in big cities.
Utah road trip

The Utah section was the real test.
Around towns, hotels, petrol stations, visitor centres, and park entrances, the eSIM did what I needed. I mainly used it to check bookings and look up opening times.
Inside national parks, I would not rely on any mobile plan. Signal dropped on some trails and scenic roads, but it was expected. Before heading into the parks, I downloaded Google Maps, saved hotel details, and made sure I had screenshots of anything important.
That was the right move. The eSIM helped me before and after the parks, but offline maps were still necessary inside them.
Drive days

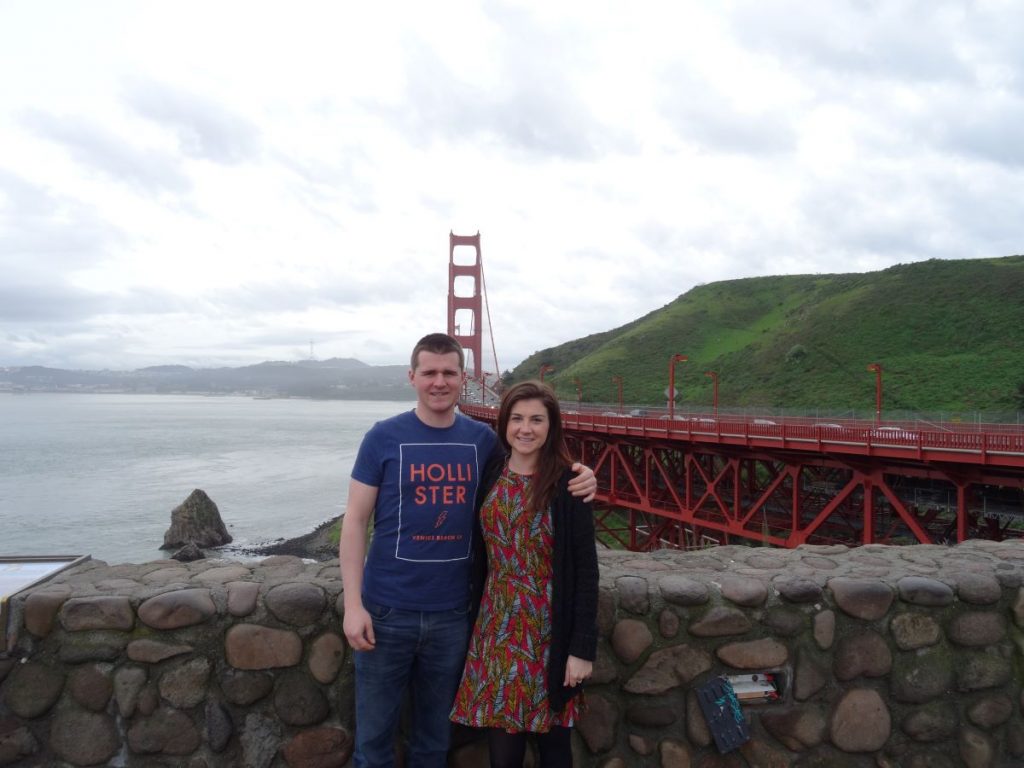
Long drives (like the Pacific Coast Highway route we drove) are where I appreciated having data the most, but also where I noticed the limits.
On some stretches, the phone had signal. On others, it faded or disappeared. I did not panic because the route was already downloaded, but I was glad when the phone picked up a backup network – Ohayu connects to AT&T, T-Mobile, and Verizon and switches between them when the main signal drops.
Los Angeles
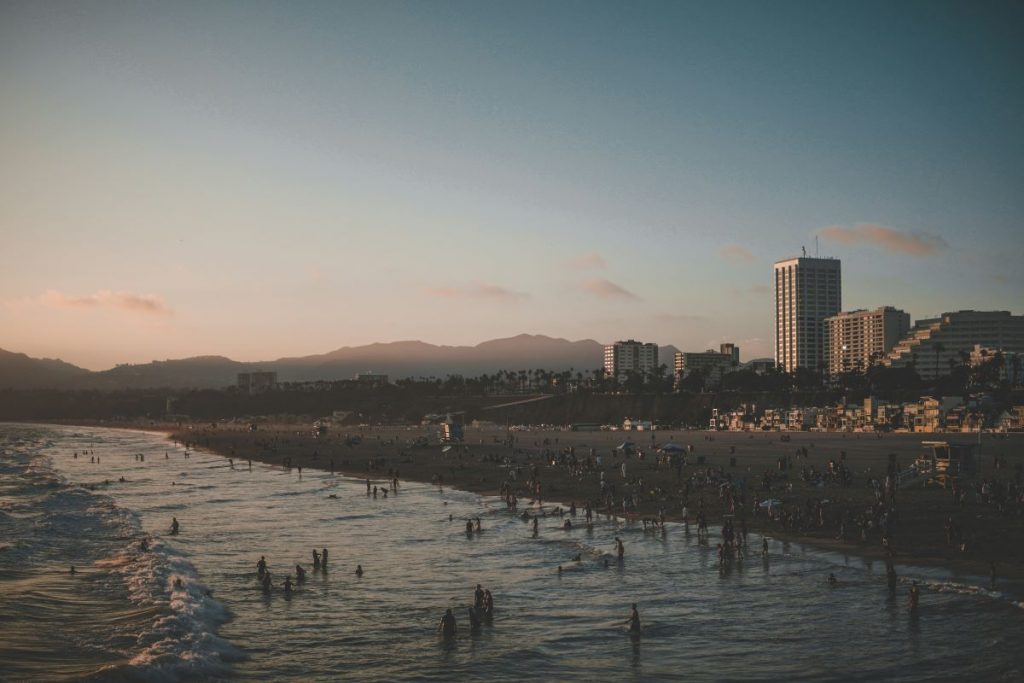
Los Angeles was similar to New York in one way: mobile data was mostly fine, but busy areas could slow things down.
I used it for rideshare apps, maps, food places, hotel details, and checking timings. Nothing dramatic happened, which is honestly what I want from travel data.
What did not work perfectly:
The eSIM was useful, but it did not magically fix US coverage gaps.
National parks still had weak or no signal once I moved away from visitor centres and towns. Some road sections had no useful data for a while. Crowded city areas sometimes felt slower than the signal bars suggested.
That is not really an Ohayu-specific issue. It is just how mobile coverage works in the USA, especially if your trip includes both major cities and open landscapes.
The important part is knowing this before the trip. I would not arrive in Utah and expect constant signal through every canyon, trail, or park road.
How much data I really needed:
I expected maps to use a lot more data than they did.
Google Maps used far less data than Instagram or cloud backups. The apps that burn data are socials, video, cloud photo backup and video calls.
Here is the rough data guide I used:
| Activity | Approximate data use |
| Google Maps navigation | 3-5MB per hour |
| Google Maps with traffic refreshes | 7-10MB per hour |
| Spotify standard quality | 40-70MB per hour |
| Instagram scrolling | 100-200MB per hour |
| WhatsApp voice call | 200-700MB per hour |
| TikTok | Around 840MB per hour |
| Zoom or FaceTime video | 300MB-1GB per hour |
For me, navigation was not the issue. Uploading photos, scrolling videos and letting apps refresh in the background were the things to watch.
Before the flight, I turned off automatic photo backup on mobile data. I also downloaded maps on Wi-Fi whenever I could. That made the plan last much longer than I expected.
Fixed data or unlimited data?
I went with fixed data rather than an unlimited travel plan.
That might sound strange, but I prefer knowing what I actually have. A lot of unlimited eSIM plans have fair-use limits, and after that, the speed can drop. I did not want to discover that halfway through a long drive.
With fixed data, I could see what I was using. If I needed more, I could top up instead of installing a new plan.
For a short city break, I would choose a smaller plan. For a road trip with national parks, long drives, rideshares, and hotel changes, I would rather have more data than I think I need.
What I liked about using Ohayu in the USA

I liked that I did not have to change my setup during the trip.
I installed the eSIM once, used it as my data line, and kept my normal number active. That was enough for my route.
Ohayu’s USA eSIM is data-only, so it does not give you a local US phone number. That was fine for me because WhatsApp, iMessage, and email covered most things. For hotel desks or car rental calls, I still had my normal SIM if I needed it.
Top-up was useful because I could add data without changing my plan. I didn’t want to buy a second package or go through setup again if I used more data than expected.
What I would check before buying any USA eSIM
After this trip, these are the things I would check before buying an eSIM for the USA:
- Network access.
- Hotspot support.
- Top-up option.
- Whether it includes a local number.
- When the plan activates.
- Whether your phone supports eSIM.
- Whether support is available if activation fails.
The local number point is easy to miss. Most travel eSIMs are data-only. That is usually fine, but it matters if you need to call hotels, restaurants, car rental offices or local services.
Common problems and how I avoided them
The eSIM does not connect after landing
First, check that mobile data is assigned to the eSIM, not your home SIM.
Then toggle airplane mode on and off. If that does not work, restart the phone. Also check that the eSIM is turned on in settings.
The home SIM starts charging roaming
Turn off data roaming on the home SIM before flying.
Keeping the SIM active for calls and texts is fine, but you do not want it using mobile data in the background.
There is no signal in a national park
Download offline maps before entering the park.
Do not wait until you are already at the trailhead. In my experience, the signal was usually better near towns, entrances and visitor centres than inside the parks.
Data disappears faster than expected
Check photo backup, app updates, social media autoplay and cloud sync. Maps were not the problem for me; background apps were.
Is an eSIM worth it for a USA trip?
For this trip, yes. The eSIM made it easier, from skipping the local SIM card hunt to casually scrolling socials and adding new pins on a map.
It did not give me a perfect signal everywhere. No mobile plan would have done that on a national parks trip, even with 2-3 partner networks. But it gave me enough connection where I needed it, and I liked not having to swap SIM cards or change plans halfway through.
For a two-day city break, roaming might be simpler if your home provider is cheap. For a three-week USA trip with cities, driving, and rural places/national parks, I’d use an eSIM again.
Booking Your Trip Soon? These are my go-to booking sites!
Below you will find a list of the sites we always use when booking our trips. By booking via the below links you can support my writing at no additional cost to you. Thanks so much!
1. Flights
I use Skyscanner or Cheapoair to find the best flights. It allows you to compare and book flights on over 500 airlines from across the globe.
2. Hotels
I use Booking.com for all of our hotel stays. And if we’re traveling on a budget, I like to use Hostelworld to book a hostel.
3. Renting a Car
We tend to always book our rental car through Discover Cars. This is a search engine for rental cars and allows you to filter by price if you’re on a budget or by vehicle type if there’s a specific car you’re after.
4. Tours
I use Viator or Get Your Guide to book any guided tours we plan on doing. I find Viator particularly good for the USA, Canada & New Zealand, and Get Your Guide is great for Europe.
5. Travel Sim Card
An eSIM is a great idea if you’re coming to a place for more than a week. As that way, you won’t need to change your number or remove the physical SIM from your phone. They are so handy and cheap, too. Obviously make sure your phone is compatible with an eSIM first. We always use Ohayu for our eSIM’s.
6. Airport Pick-Ups
Instead of cabs, we book with welcome pickup to get from the airport to our hotel. Why did we do that? The drivers from Welcome Pickups are English speaking and you’ll pay a flat rate. So, you know exactly how much you’re paying before hopping in.
7. Compensation for Delayed or Canceled Flights
You can easily claim compensation for a canceled or delayed flight with the website – AirHelp. You just input your flight details and some personal information, and AirHelp will handle the rest.
Last Updated on May 23, 2026 by snaphappytravel